How to start composting at home
Composting is an environmentally-friendly and simple process of turning household waste into a nutrient-rich soil amendment for your garden.
This is the part 4 of the Starting a Garden Series. Read along to start your gardening journey with important practical information. At the end of the day, you will do gardening your way, but knowing some basics will set you up for success.
Also on this series:
1. Want to start gardening? Here’s how.
2. Soil health and why your plants aren’t growing
On the last article we talked about healthy soil and how to amend it, we understand that to grow healthy plants we need nourishing soil and compost is the best way to get there. Today we take a deep dive into making your own compost at home. Whether you have a small patio or a large backyard, composting at home can reduce the amount of waste sent to landfills and improve the health of your soil. Here is a guide on how to start composting at home.
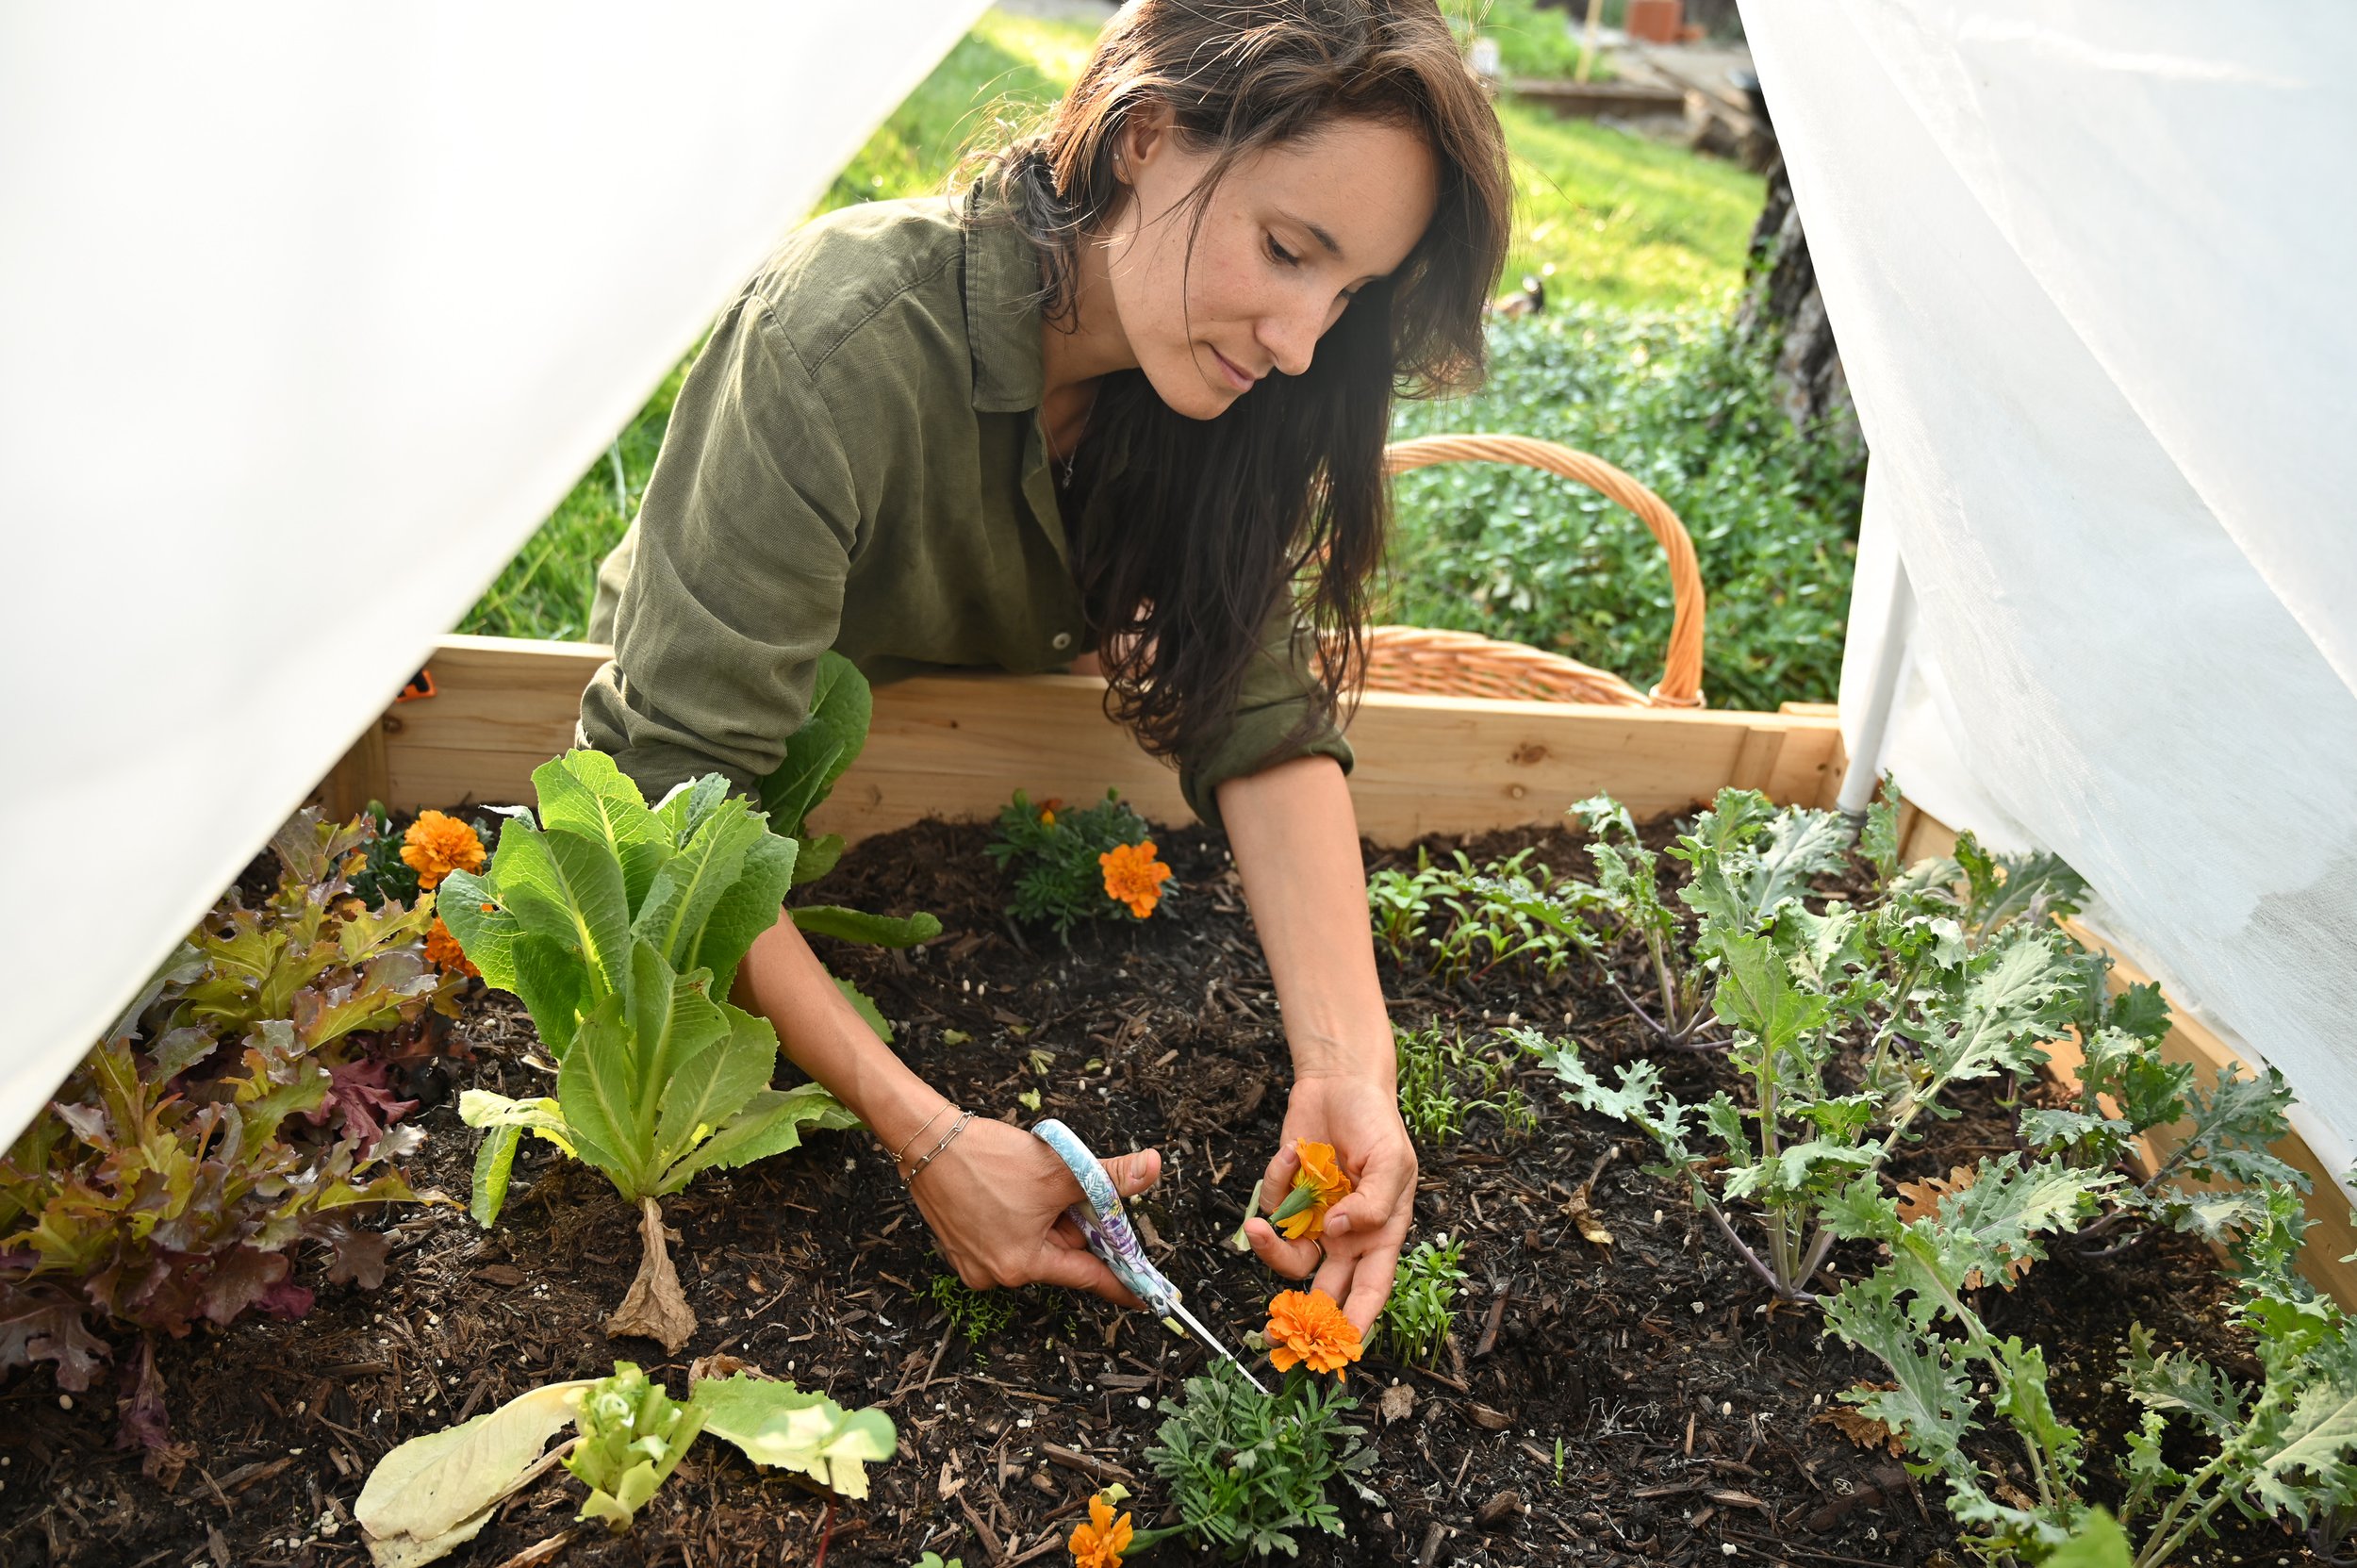
Nutrient rich soil in a covered late spring raised bed. I add a layer of compost to each bed every year –– this way I replenish the soil after a productive growing season. Composting at home means I always have a batch of compost for whatever I need.
Why Composting is Important
Composting is a way to reduce the need for fertilizers in the garden. It’s an essential building block of healthy, fertile soil without which plants aren’t able to grow. Composting also reduces the amount of waste sent to landfills –– hence reduce greenhouse gas emissions, as decomposing food and yard waste in a landfill generates methane, a potent greenhouse gas.
But perhaps most importantly, I find it so rewarding to put all my kitchen and garden scraps in a bin and see it become the black gold that will feed back my garden. A beautiful cycle to experience over and over.
Our luscious summer garden in 2022. Thanks to all that amazing compost we make on our compost bins we enjoyed lots of veggies, despite living in a mountain with mature trees semi shading the garden.
What Goes in Your Compost Pile
A successful compost pile is made up of a mixture of GREEN / NITROGEN materials (such as fruit and vegetable scraps, grass clippings, and coffee grounds) and BROWN / CARBON materials (such as leaves, twigs, straw, and shredded paper). The right balance of these materials is essential for creating a compost pile that will break down effectively.
How do you figure out the balance of greens and browns? The basic rule I try to follow is to add at least 2 or 3 parts of brown for every part of green. This is harder to achieve in the winter when I run out of brown material or it’s frozen under a layer of snow. A good way to know is by smell. A strong smell is a sign that your pile is off balance and needs more brown material. A healthy pile of compost smells earthy, like soil or grass clippings. If it smells rotten, add more brown.
What can you add to your compost?
Fruit and vegetable scraps
Eggshells
Coffee grounds and filters
Tea bags
Old bread and leftovers
Grass and plant clippings
Leaves and yard waste
Shredded newspaper and paper towels
Animal bedding and chicken manure
What shouldn’t go in your compost?
Meat, fish and bones –– not recommended because they can feed unhealthy bacteria and smell bad. Last time we lost a hen to a predator, we put her remains in the compost bin so she could feed the soil. A little is ok in my opinion but we have a large 3-bin system (more on that below), so use your judgement.
Dairy products –– same approach, some cheese won’t hurt
Oils and grease –– some olive oil or greasy food is ok, but too much oil will create water resistant barriers slowing down the compost
Pet waste from dogs or cats –– could carry diseases
Diseased plants
Invasive weeds with seeds
Different Options for Composting
There are several options for composting at home, including:
1. Outdoor Pile Composting
Outdoor pile composting is the traditional method of composting and is more suitable for those with plenty of outdoor space. You can create a compost pile by simply stacking green and brown organic materials in a designated area of your yard. A pile might take a year to break down but it requires no maintenance.
2. Indoor Composting
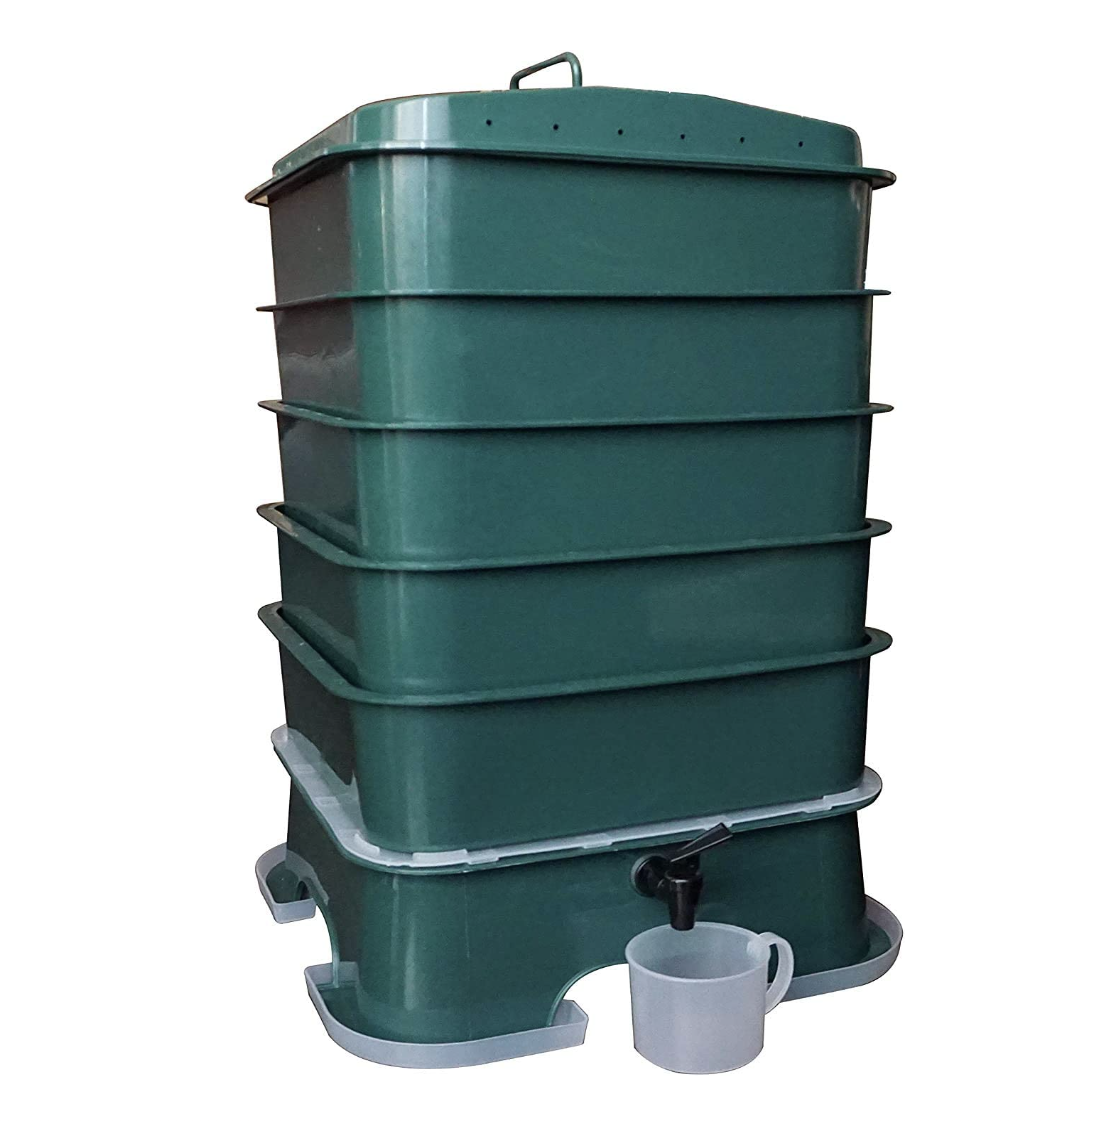
Indoor composting is ideal for those with limited space. My favorite for indoor composting is vermicomposting (composting with earthworms). Try the VermiHut Plus 5-Tray Bin or the Urban Worm Bag depending on your preference. Both allow you to collect the water that drips from the bin, often called compost tea, a powerful fertilizer for your plants.
You can also take this idea outdoors of course, but know that earthworms will not survive harsh winters outdoors. The SUBPOD Compost Bin is a vermicomposting bin that you semi-burry in a raised bed. I have a similar version by Vego Garden and although it only works during the warm months, it allows me to create about a gallon of worm castings every year that I later spread through all my raised beds to amend for next year’s growing season.
3. Compost Tumblers
Compost tumblers are large, cylindrical containers that are rotated to aerate the compost. They are a great option for those with limited outdoor space. My only problem with this system is that it collects too much water that slows down composting, I like to compost all my unused old tea, soups, juices etc, and the tumblers don’t do great with all that liquid. But if you pay attention not to add too much water to your pile you should be fine.
Most tumblers have two sides so you can fill one up and then let it decompose for about 6 months while you fill in the second side. Once the second side is full, I recommend you empty the first side and let your compost mature on the ground before you use it in your garden.
I used to own a VIVOSUN Outdoor Tumbling Composter that worked great until I decided to upgrade my composting game, and this Jora Composter JK 125 is just beautiful.
4. Compost Bins
Compost bins are available in a range of sizes and styles, from plastic single bins like this Garden Composter to large wooden ones with multiple spaces like the one I use and will show you below. They are a convenient and easy way to compost in your garden and keep your compost contained and odor-free.
For single compost bins, you will want to fill it up and let it break down for at least 6 months to a year, you can turn your pile a few times to aerate it and accelerate the process.
Students at Nature School observing what’s happening in our 3-bin compost system at the end of the backyard.
My composting method and why I love it
I started composting with a tumbler, but soon realized that it wasn’t big enough for what I needed. I have lots of brown and green material coming out of my chicken coop and I needed more space to break that all down. So I upgraded to a 3-bin cedar wooden system. It looks a lot like this one on Amazon, and you have to add on two additional sides to get your 3 bins. I love the 3-bin system because you have enough space to fill one up, let it decompose and begin on the second pile in the meantime.
This is my composting process so you can get an idea:
I collect all my kitchen scraps in a Stainless Steel Bin on the kitchen counter
Once the bin is full, usually once every day or two, I empty it on the left bin of our 3-bin system outdoors
Once the left bin is full, I turn the entire pile into the middle bin and start filling the left side again. This process of turning the pile into another bin helps aerate and accelerate the composting process
Once the left bin is full again, I turn the middle into the right side bin and the left into the middle. The pile on the right should be ready or almost ready to use in the garden at this point
I usually fill out and turn all bins twice a year so I’m getting two batches of compost a year
Our wooden 3-bin system in the back yard. We only add scraps to the left side bin and turn it into the middle bin when full (usually twice a year). This means the first bin is our working bin, the middle one is last semester’s compost and the last one is ready to be used in the garden.
Note how the left side (bottom) has fresh green materials and the one in the middle is already brown and decomposed.
Starting a compost pile might feel overwhelming, but knowing the basics will help you ease into it. Once you have your compost pile established, simply add food, yard waste and brown dry waste to it and let nature do the rest. With time, you will have a nutrient-rich soil amendment that is perfect for your garden. So start composting today and make a positive impact on the environment and your garden!


